Who watched Ana’s show on Tuesday night?!
Okay. Let’s put our hands down before our shoulders go out of socket….because I know that we all are reaching for the sky right now! Seriously – if you missed it (I know some folks don’t get the DIY Network) then you really missed out. They built a house completely off the grid and then….Ana was in a bathing suit! In a hot tub! It was like Bachelorette meets Building. Seriously – that is my kinda show! She rocked it and proved once again that we women need to have confidence in ourselves and our skills and everything we bring to the table….the table that we can build first So proud of my friend!
Speaking of Ana & Jacob, if you missed our video last week, then you should watch it….we did a little “Deck The Blank” Challenge and it was super fun…
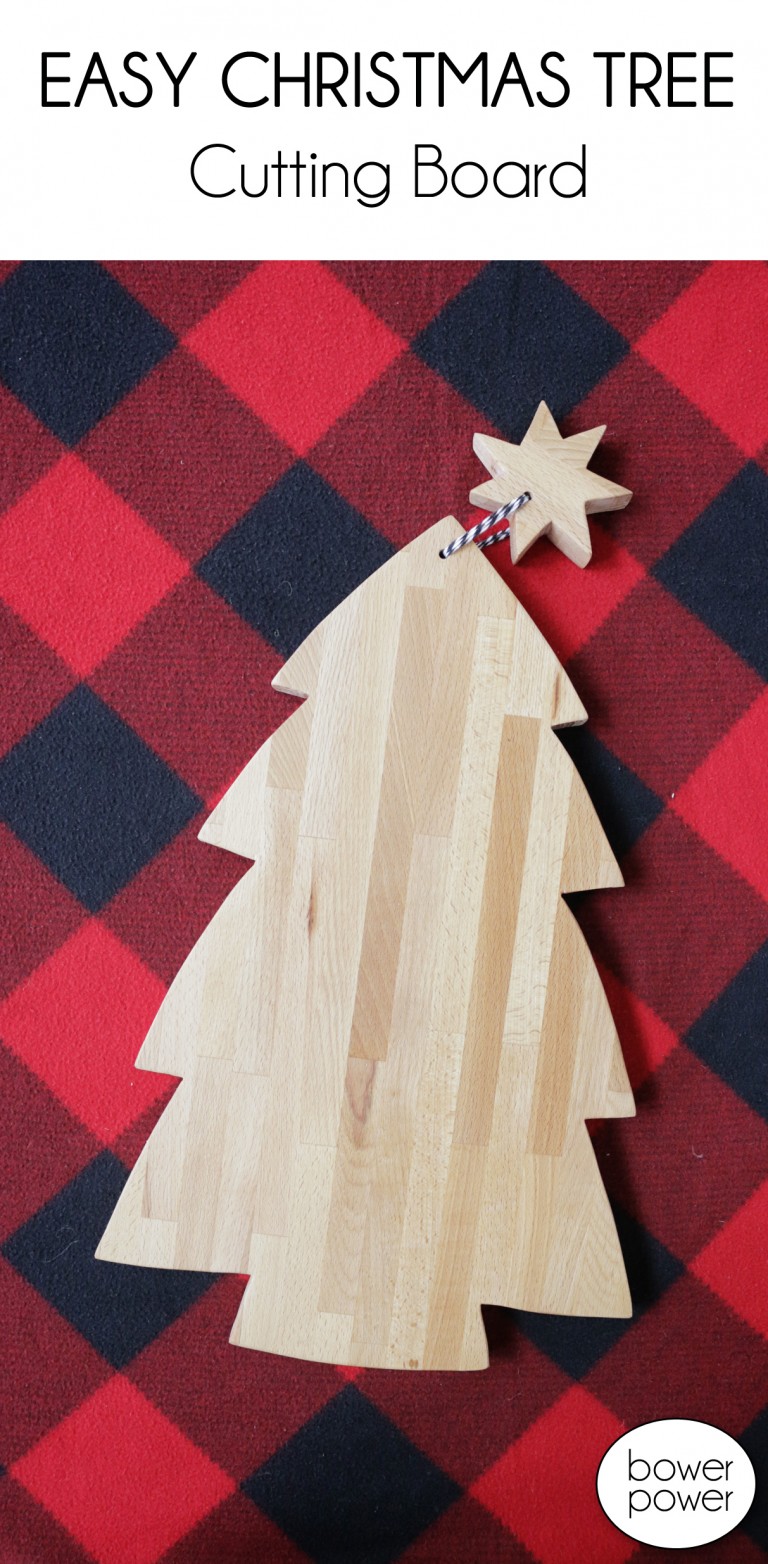
I promised that I would show you all how to make your own butcher block cutting board and I am back to share all the details! It’s such an easy project that you can make it in under an hour and with a scrap piece of wood.
So we used a piece of butcher block that we had leftover from our laundry room countertops but really you can use any type of interior grade wood. I recommend at least a 1×10 but if you want to make it chunkier and you only have a 2×12….go for it.
The first thing you want to do is lay down your wood on some scrap paper to get the width and length dimensions. Cut the paper accordingly. The bigger the cutting board, the better in my book.
After you have your paper cut out, then fold it in half and draw HALF of a christmas tree with the fold in the center.
Cut out the christmas tree and unfold.
Then trace the design onto the wood with a pencil. This is so easy a man can do it. (just kidding honey – I love you!)
Using a fine tooth blade and a jigsaw, cut out the tree. I also cut a star out of the scrap wood (where the top of the tree left some chunks).
The star doesn’t have to be perfect. I actually like a very organic shape because it shows that it was more handmade.
Then sand everything. We used 120 grit, then 220, then 400. This can get super smooth and make sure you hit all the corners and edges too.
Mark a hole for the string to attach to the star. You want to drill two holes – one in the top of the tree and one in the star. Then sand them smooth again.
Now is the perfect time to make your board food safe. We used multiple ‘soakings’ of mineral oil. You can get this for a buck or two at your local grocery store or drug store. It should be in the laxative section. While in that aisle, make sure you announce loudly that you don’t need a laxative but you are building a cutting board
After you rub that in with a paper towel, let it dry and then you can use twine or string or even leather to make your little tie to the star. I tripled my string and love how sturdy it looks.
I definitely recommend that you only hand wash this item. You can use soap and water and every year or so, you can reapply your mineral oil to keep it in tip-top shape. We actually made one for the Whites (in the video) and embellished the star with painters pens (and sealed it with poly) but you can leave yours plain too. We loved the project so much that I actually made another one and love how beautiful it is! I can’t wait to serve warm bread on it on Christmas day!
So I hope you guys have a wonderful day and if you need a last minute gift – this one is a winner! Also….DUDE IT’S ONE WEEK LEFT. (!!!!!!!!)

No comments:
Post a Comment